Merry Christmas and Happy Holidays

Last night we got dressed up into our Christmas eve pyjamas, prepped our Christmas dinner and snuggled up together to watch a Christmas film. Luxie had her stocking on the tree and likes to snuggle under the tree on our rug.


We're all dressed up and dishing up our Christmas dinner right now. I thought I'd wish my lovely readers a Merry Christmas or Happy Holidays if you don't celebrate Christmas I hope you're day is wonderful and joy filled no matter what.

Katy xx

Advent Day 24: Last minute Cranberry sauce

Merry Christmas Eve! It's nearly that day! We've had a busy few days travelling round visit people. Today though we had a lazy day, we popped to the shops (not as crazy as I thought but still hard to negotiate) and prepped all our food for tomorrow.

One of the things I prepped today was our Cranberry sauce, we love cranberry sauce and if we buy a jar we go through it at lightning speed! So I decided to try making some for our dinner!

So I thought I'd share the recipe with you as a little last minute addition to our table and maybe yours..

It's really simple and you'll need;

500g cranberries fresh or frozen,
200g sugar,
200ml orange juice.


Pop your orange sugar and sugar together in a pan and bring to the boil on a medium heat.


Once that is boiling slightly and all your sugar has dissolved add your cranberries.


If they are frozen they will take about 5 minutes to cook through, fresh ones around 10 minutes.


Once some of the cranberries have burst and your sauce is starting to thicken up turn off the heat and leave to cool on the hob.


This will last in your fridge for about 1 week but I know in our house it'll be more like a few days!


All our things are prepped and in their pans ready to go right in the oven tomorrow and we've got our chicken prepped and beef ready to go in the slow cooker. I'm very excited about our Christmas dinner!

Merry Christmas, I hope you have a lovely day with the people you love!

Katy x

Advent Day 15: Kitty Christmas DIYs!

I decided recently that I wasn't going to spend a fortune this Christmas on toys for the cat. I'm a sucker and a total cat person so it's hard for me not to spoil Lux, I headed over to the ever useful Pinterest to find some ideas. (Find me here!)

I started with a little stocking! Super simple but cute and of course everyone needs a stocking at Christmas!


Then I grabbed some red felt from my stash and cut out circle shapes to make mice!

I folded the felt in half and used a simple stitch to sew the sides, stuffing a little bit with wadding before I finished sewing. Then I added a little tail by plaiting some thread and sewing it to one end. Quick and simple toy that you won't mind being destroyed in 10 minutes.


Then I riffled through my scraps of fabric and picked out some material. I drew the outline of a fish and used my pinking sheers so I wouldn't have to do any edges. I sewed two fish shapes together and then added some ribbon so you can drag it along.


Last but not least some simple pom poms with a long enough string to be dragged and dangled.


The easiest way of doing this is to take two fingers and wrap a large amount of wool around them. Once you have enough take a length of string and wrap it around the middle of the wool and put tight, slip the wool off your fingers and tighten the thread as much as possible so it is secure. Cut around the outside of the wool through the loops until you have a pom pom!

My little monster cat is definitely excited for Christmas, she loves to try and pull down the tree and all it's decorations or drag away the already wrapped Christmas presents. I hope your kitties enjoy these!

Katy xx


Advent Day 14: National Wrapping Day!

It's National Wrapping Day! I LOVE to wrap presents it's one of my favourite things about Christmas time, along with finding the perfect gift for friends and family.

Before I start wrapping I like to get the room all cosy, in this case I sat in front of our Christmas tree grabbed all my bits and bobs I need for wrapping and lit some Christmassy candles! And obviously I was joined by little black and white monster Lux. Who is trouble when you're wrapping, she likes to steal string and run under and over all my wrapping paper.


My wrapping style is very classic and simple, but best of all easy peasy! I've always loved to wrap things and it wasn't until the last few years I've refined my wrapping technique and learnt the power of brown paper. Don't get me wrong I'm all for colourful and interesting wrapping paper but my style in recent years has been brown paper and twine with simple reds, greens and metallics. They go with my tree and the Christmas colours we use around the house to decorate.


I thought I'd share my wrapping this year and a few easy things to do with brown paper to jazz it up a little!

So I have my basics, plain brown paper from IKEA and brown fawn printed paper from ASDA, scissors and clear tape. Other things you might want are; Washi tape, string, gift tags, ink and stamps.


My method is the simpler the better, not only is this neutral and goes with any decorations it's also slightly less gaudy than some of the wrapping papers out there.
For a lot of my wrapping I do simple brown paper with either brown twine or ribbon around.


On all of the presents I put tags so even though G will have 5+ presents and all of them will have tags so I don't get confused and give the wrong presents to the wrong people!
For the tags I simply grabbed some plain tags normally used for parcels then I used alphabet stamps to write Merry Christmas.


For other presents I took the brown wrapping and used my deer and tree stamps to print all over the paper. I try to stick with only one or two colours per wrapping so brown and silver or the deer paper with red tag! Other little additions I used are wooden letters! I just grabbed some thin thread and tied it onto the tag, I matched the letter with the name of the person who the present belongs to!


Any wrapping paper can be jazzed up with some ribbon and a little bit of Christmas cheer! You could add Christmas decorations strung around your present with some ribbon, wooden ones would look great and go with most wrapping papers. All different ribbons could look great but pom pom ribbon or ric rac would be super festive! Personally I love twine and old fashioned looking ribbons in natural colours.


I've popped some of my favourites down below the letters from Hobbycraft are the ones I've used on some of my presents!
Pom Pom Ribbon | Paperchase | £2.50, Wooden letters | Hobbycraft | £1.50, Wooden Decorations | £4.09 for 50,
Raffia String | Paperchase | £2.75, Bells | Hobbycraft | £3.00. 

I'd love to see how you wrap your Christmas presents!

Katy! xx


Advent Day 9: Christmas Cookies

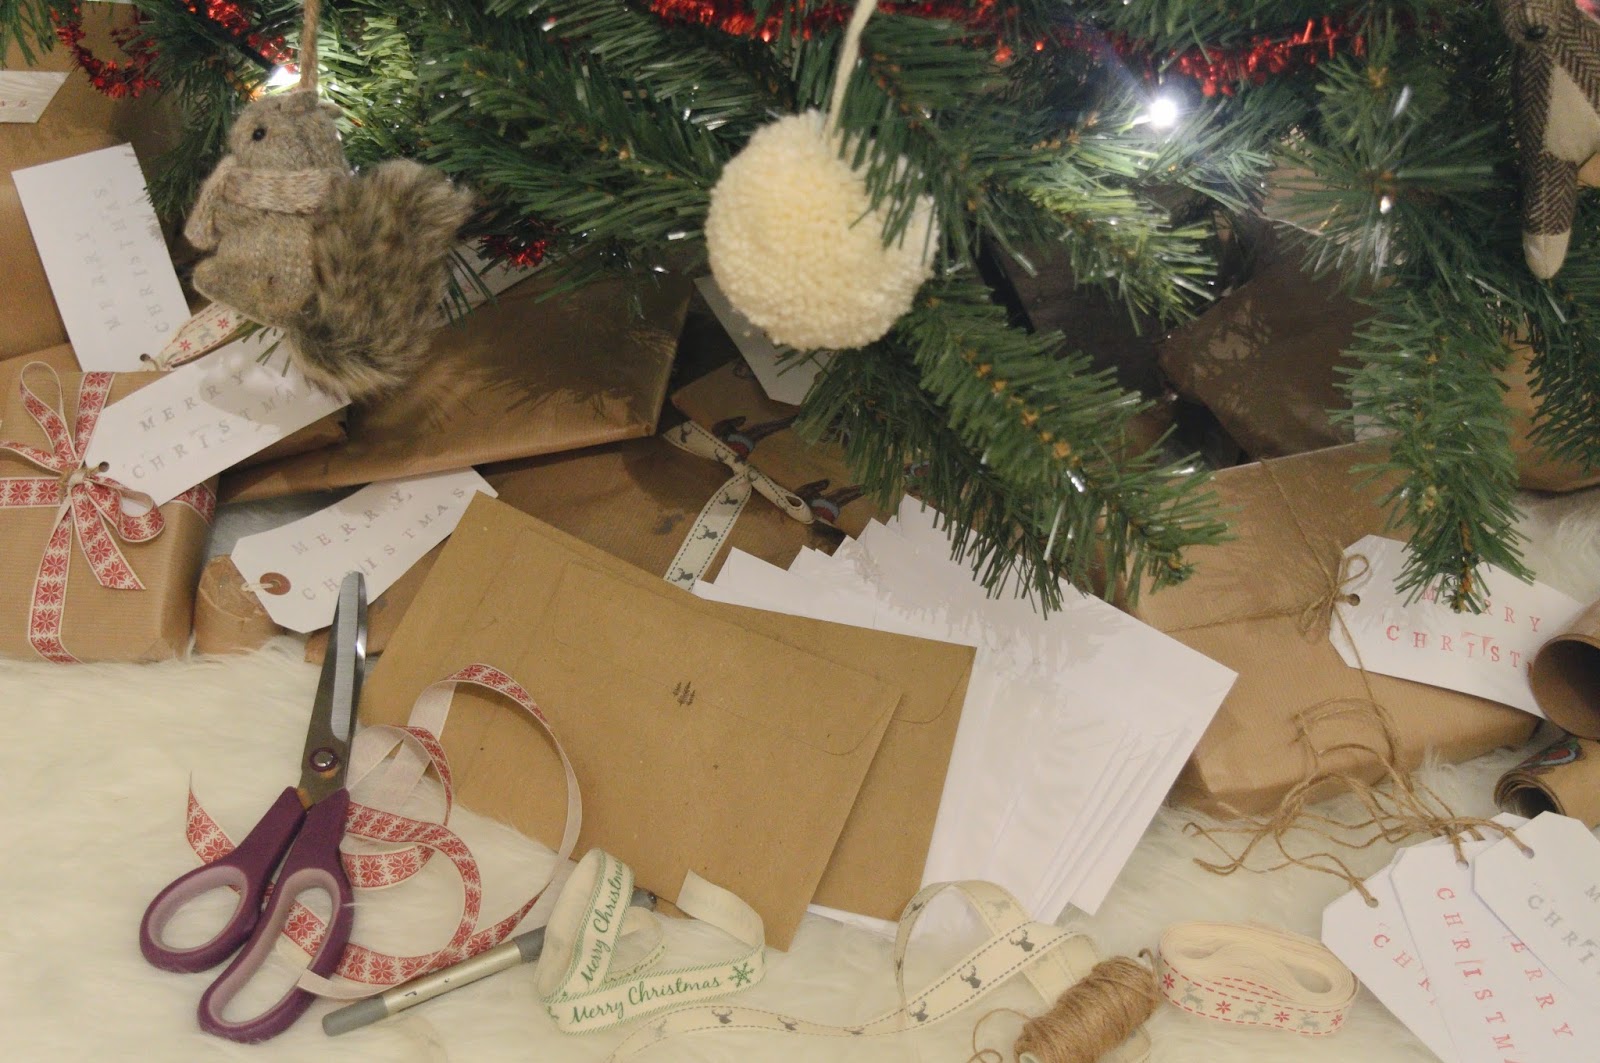
Hello, I love Christmas cookies and I thought I'd share my favourite recipe. I made these ready for Christmas tree decorating so I made cranberry and white chocolate for myself and fudge for G. 

Firstly the Cranberry and White Chocolate ones! 
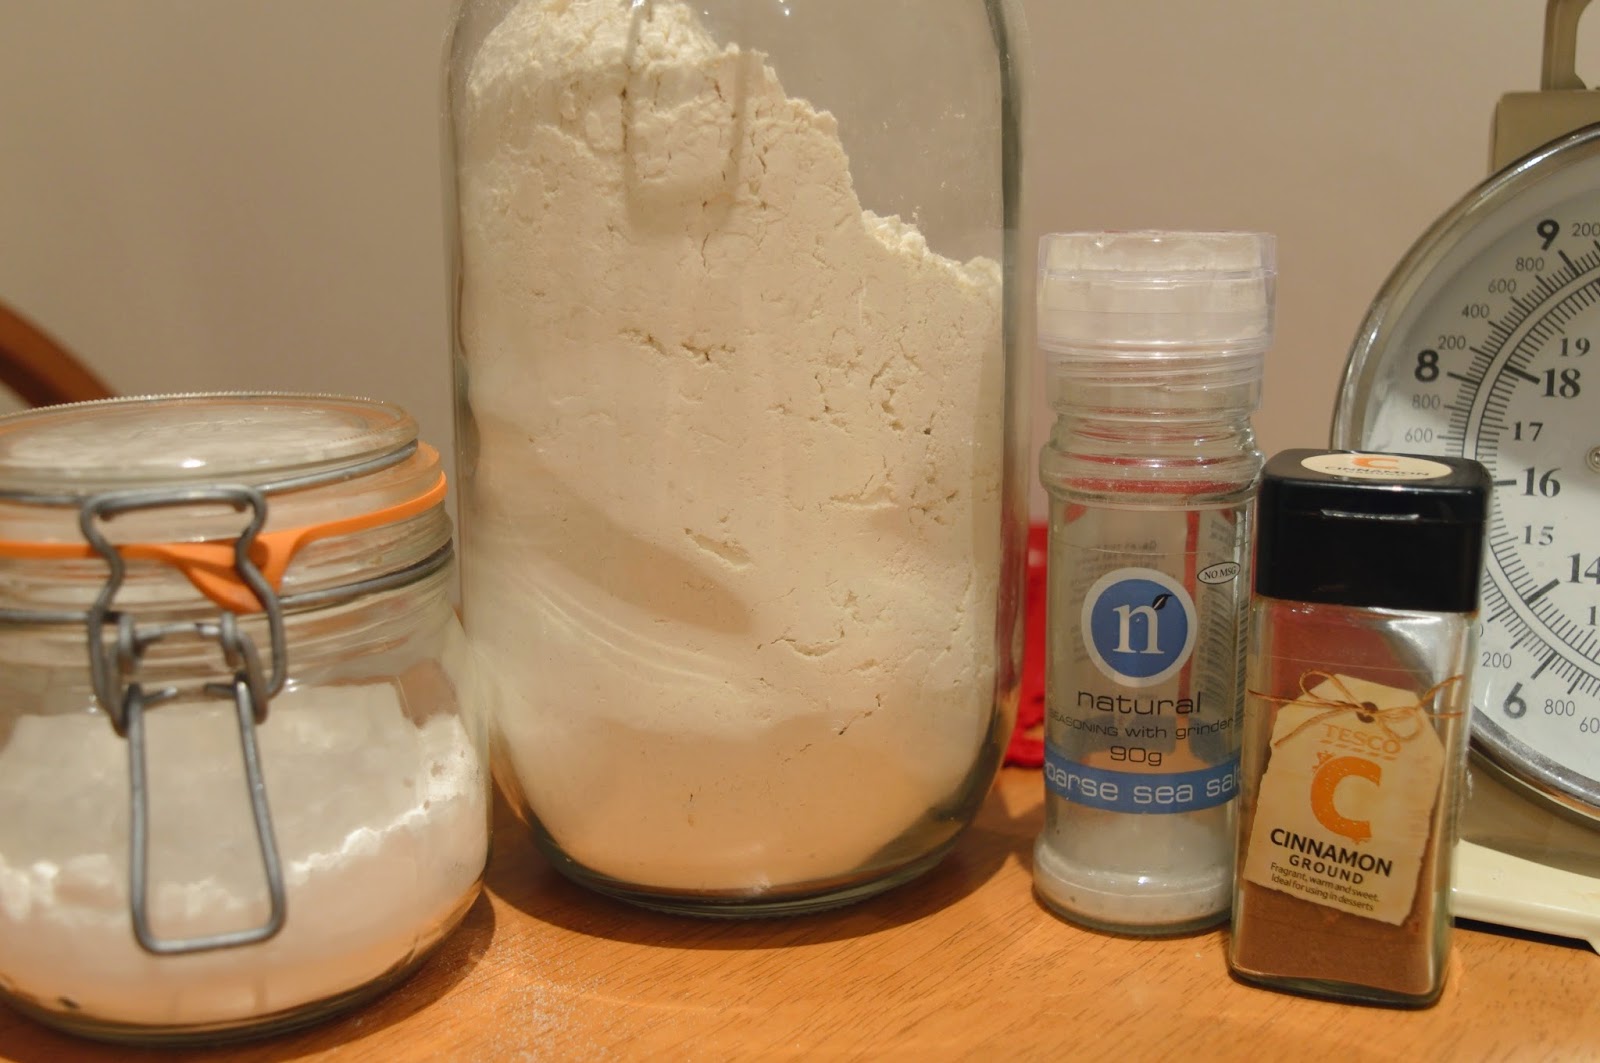
Ingredients: 
135g unsalted butter
160g sugar
1 egg
1/2 teaspoon vanilla essence 
190g plain flour
1/2 teaspoon salt
1/4 teaspoon cinnamon
1/2 teaspoon bicarbonate of soda
100g cranberries
60g white chocolate chips


To get you started cream together the sugar and butter until it's light and fluffy!


Slowly add the egg bit by bit making sure it's fully incorporated each time.


Next weigh out your flour, cinnamon, salt and bicarbonate of soda. Combine together and grab your sieve.


Sieve the flour mixture into butter, eggs and sugar slowly making sure it's incorporated and there are no lumps.


Last but not least stir in your cranberries and chocolate.


Then line a baking tray or pan with greaseproof paper and add small balls of dough onto the trays.
Bake at 170' for 15-20 minutes. Then leave them to cool, although they taste pretty delicious warm from the oven.


Next up Fudge cookies especially for G!

So I used the same basic recipe and took away and added a couple of things.

Ingredients: 
135g unsalted butter
160g sugar
1 egg
1/2 teaspoon vanilla essence 
190g plain flour
1/2 teaspoon salt
1/2 teaspoon bicarbonate of soda
100g fudge pieces


Again cream together butter and sugar in a bowl then add the egg.


Sieve in the flour, salt and bicarbonate.


Add the fudge then shape into small balls on a grease proofed tray.


Once again bake at 170' for 15-20 minutes or until they're nice and golden.


As you can see these went pretty quickly before I got the chance to photograph them. But I can definitely say that they taste so darn delicious! 

Enjoy! 

Katy xx