Ceramic and Glass Painting

If you've been following me on Instagram (@katyepearce) you'll have seen my recent updates about my ceramic and glass painting.

This is something I've been meaning to do for ages and seeing as how I can never find affordable plates and dishes in colours and patterns I like I thought I'd give it a try.

I just popped to my local Wilkinsons and grabbed a couple of their 65p side plates, cheap and if I stuffed it up at least I hadn't spent a lot of money on them.

Recently I had a little order on Hobbycraft and ceramic and glass paints were something I purchased. I have the Marabu paints in Petrol blue and Mint green (my current favourite colour!) and a glass paint in gold glitter.

I had a little look on Pinterest for inspiration and came up with a few pattern ideas. Including a chevron style print, stripes and of course polka dots!

I thought you all might like a little update/tutorial on how I chose to paint my plates and glasses and a few hints and tips I learned along the way.


This was my first attempt, it's a little rough around the edges but I think it gives the set a little of that homemade goodness. 
After I finished this I got a little crazy and just kept going. So I tried to come up with more patterns and got painting. 


As I went on the plates got neater and I loved painting them more and more. 
I've just started on my first dinner plate and here's how:


These were my chosen colours, I love mint green at the moment and want to paint everything I own this zingy spring colour. 


I just picked up a pack of paint brushes from Wilkinsons to paint with, the only tip here is to go for decent paint brushes, you don't have to spend a fortune obviously but those cheap plasticy brushes you can get don't paint as smooth as some of the slightly more expensive ones. I think these were £2 for a pack of about 6 and definitely worth it. 

I paint my plates free hand and have found that so long as you take your time and have an idea in mind, even sketched out on a scrap of paper before you start working, you'll be fine. I did try painting with masking tape to give me straight lines and found that I could bleed slightly, if you look at the bottom right hand plate at the top of this post you'll see little spot like lines off of the stripes, luckily this happened all the way around my plate so it looks like I did it on purpose (Shh!). 

Just go slow and don't load your brush up with too much paint as the paint dries fast and it has a tacky stage which if you paint on can disrupt the pattern underneath. 

Once you've finished painting the guide says that you should pop these in the oven to set the paint. 
So you pop the plates in and set the oven to 170' celsius once your oven hits this temperature set your timer for 30 minutes and once this is over turn the oven off and leave your plates to cool in the oven as it cools. I wouldn't recommend taking them out still hot, not only will you burn your hands but the plates might crack and then all your hard work will be ruined. 

Next up in the ceramic painting saga is to finish off my dinner plates and make a start on some cereal bowls. 


Glass painting: 


I saw a post on Pinterest recently with Wine glasses painted with gold spots (another favourite of mine) so when I saw some glass paint on Hobbycraft I thought I'd give it a go. 
Again I popped to Wilko's and grabbed a set of four tumbler glasses for about 60p and got painting. 


At first I found it quite hard to work with this as it was so watery and needed shaking up every 5 minutes to make sure the glitter hadn't sunk. 
Although it took a while to get to terms with the paint I did eventually crack it, at first I used the lid to put some of the paint in as the glitter doesn't have as far to sink. Then I popped some on a piece of paper and this helped as it got just a little bit tacky so it stuck rather than slid on the glasses. 


The best way to do this is to just go for it, if your spots go a little off it's fine once you've covered the glass the effect is super pretty and the imperfections aren't even visible. 

Don't dot too much paint on at the same time over wise it'll run down the glass before it can dry, I do two coats and the first is quite light and mainly just to mark out where I want everything and then go back to make the glitter more prominent. 


They take a while to dry the recommended time is 30-40 minutes but I think they take much longer than this. I found it best to leave them to dry over night and they were perfect in the morning. 

I have a set of 4 finally completed and I'm going to do a set of wine glasses. 


Next up I think I'll tackle painted cutlery, Pinterest has been inspiring me plenty these past few weeks. Follow my boards here for some inspiration and you'll probably be able to guess what I'm going to next from all my posts. 

Katy


Easy Peasy Envelope cushion cover!

I've been looking for a quick and easy way to make cushion cover for a while now and after testing and reading lots of different types I've finally found one that I like.

Step one: Measuring


First of all, take your chosen cushion form and measure it from side to side, the cushion I used is 17x17 inches.

This is bit you're going to want to remember:

For the front fabric of your cushion- you want to add 1 inch to all of the sides, so my cushion being 17x17 I'd make it 18x18 when I'm measuring my fabric.
For the back (and envelope piece of the cushion)- you want to take your original 18x18 and add 4 inches to one dimension, so then the measurements I'm using will be 18x22.

This will work for any size so it can be tailored to any kind of cushion.

Step two: Cutting


Take your chosen fabric and cut out the two pieces, for me this is one piece 18x18 and another 18x22. 


Next you take your back, and bigger, piece with the one longer side (18x22) and cut it in half. So for my cushion I measured halfway and the cut down the middle.

I will then have two pieces that measure 18x11. 


Take those two pieces and hem one of the 18 inch edges by double folding, fold about a half a centimetre of the fabric over and then fold that over once more. 
I pop my fabric on a cutting board and just use a pair of scissors to run gently along this hemmed part, this just holds it in place slightly making it easier for you to then pin in place. You only need to do this on one side of the 


Once you've pinned both of your 18x11 pieces on one side sew along these edges. This will give you a nice neat hemmed edge when you turn the cushion the right way out.

Step three: Putting your cushion together


Next take your front (the piece that's still whole) and lay it pretty side up. Then take your two hemmed pieces and lay them pretty side down on top of the first piece. Pin these together securely all the way round the square. The two top pieces will overlap, that's ok! This will make the envelope of your cushion so you can easily slot the cushion inside. 


Sew along the edges of your you fabric and make sure you sew all of your fabric into the seam. Don't worry if you miss a little just go back and sew over it again. 

Finally... 


Carefully cut close to the stitching on each of your cushions corners. I cut straight across then trim slightly so the edges are rounded. This will help the corners of your cushion cover to be pointed and sharp when you turn it inside out. 


You should have something that looks like this! Check that your corners are nice and sharp, then go ahead and pop your cushion form inside.


Tada! You're all done. The best thing I've found about this method is how easy it is to switch it up depending on the size of your cushion form. It could also be adjusted for a rectangle cushion just use the simple formula. 

Has anyone used this method before? Or do you have a different technique? Let me know! I'd love to here other ways to do this. 

Katy

10 things I couldn't live without...

I thought I'd give you a little mid week blog post, I've seen this ideas on a few blogs before and thought it was an fun little thing to do.
So heres my selection of the 10 things I just couldn't live without..

1. My Bobble water bottle


I love this water bottle! I've had it for more than a year now and I don't think I'll ever not have one. My mum and I spotted them when we were on holiday in Kent a few years ago in a tiny cookware shop (my heaven) when they were in their first stages and thought the idea was genius so my mum picked one up. About a year later when I was at Uni I spotted them again on Amazon and for £9.99 I thought it was worth a try and at the very least I'd stop spending money on buying bottled water. 

The bottle is BPA free and is completely recyclable (if you ever need to, these things seem to last forever). The idea is that you keep the clear plastic water bottle and replace the water filter top when you feel like you need a fresh one. On the website the filters are recommended for 2 months use or up to 150 litres of water, so far in owning my bottle for around a year and a half I've replaced the water filter twice and I think it's probably equal to a few hundred litres. I'm due to replace it pretty soon actually.

I think it's amazing invention and I take it pretty much every where with me, if you like the look of these they're available here on the Bobble website or if you search on amazon you can find them easy peasy on there. 

2. Daisy by Marc Jacobs


I've been wearing Daisy for umpteen years and every Christmas at least one of the lovely people in my life have gotten me a new bottle, so luckily I can wear this amazing scent everyday. 
I love the freshness of Daisy and I just don't think any of the other fancier options stand up to it. The smell is lovely and floral, and sticks around all day. What more could a girl ask for in a perfume! 

3. My slippers 


Such an old lady, I know! These slippers were the only thing I specifically wanted for Christmas this year and they're from a sheepskin shop in Ambleside near to where my home town is. I've only been wearing them for about a month and my feet have never been warmer, that's a big thing for me, I have perpetually cold feet. These are cosy and hardy and will definitely be on my list again next year!

4. Macbook Pro


I used to be a PC person and now I am undeniably a Mac girl. Despite what people think it's super easy to pick up on the Apple operating system and I like the layout over that of Windows. My Mac is the Pro 14" so it's slim enough to slip in my bag and take it places but it's big enough that it can take the odd knock and still takes DVD's which is a feature I don't think I could live without. 

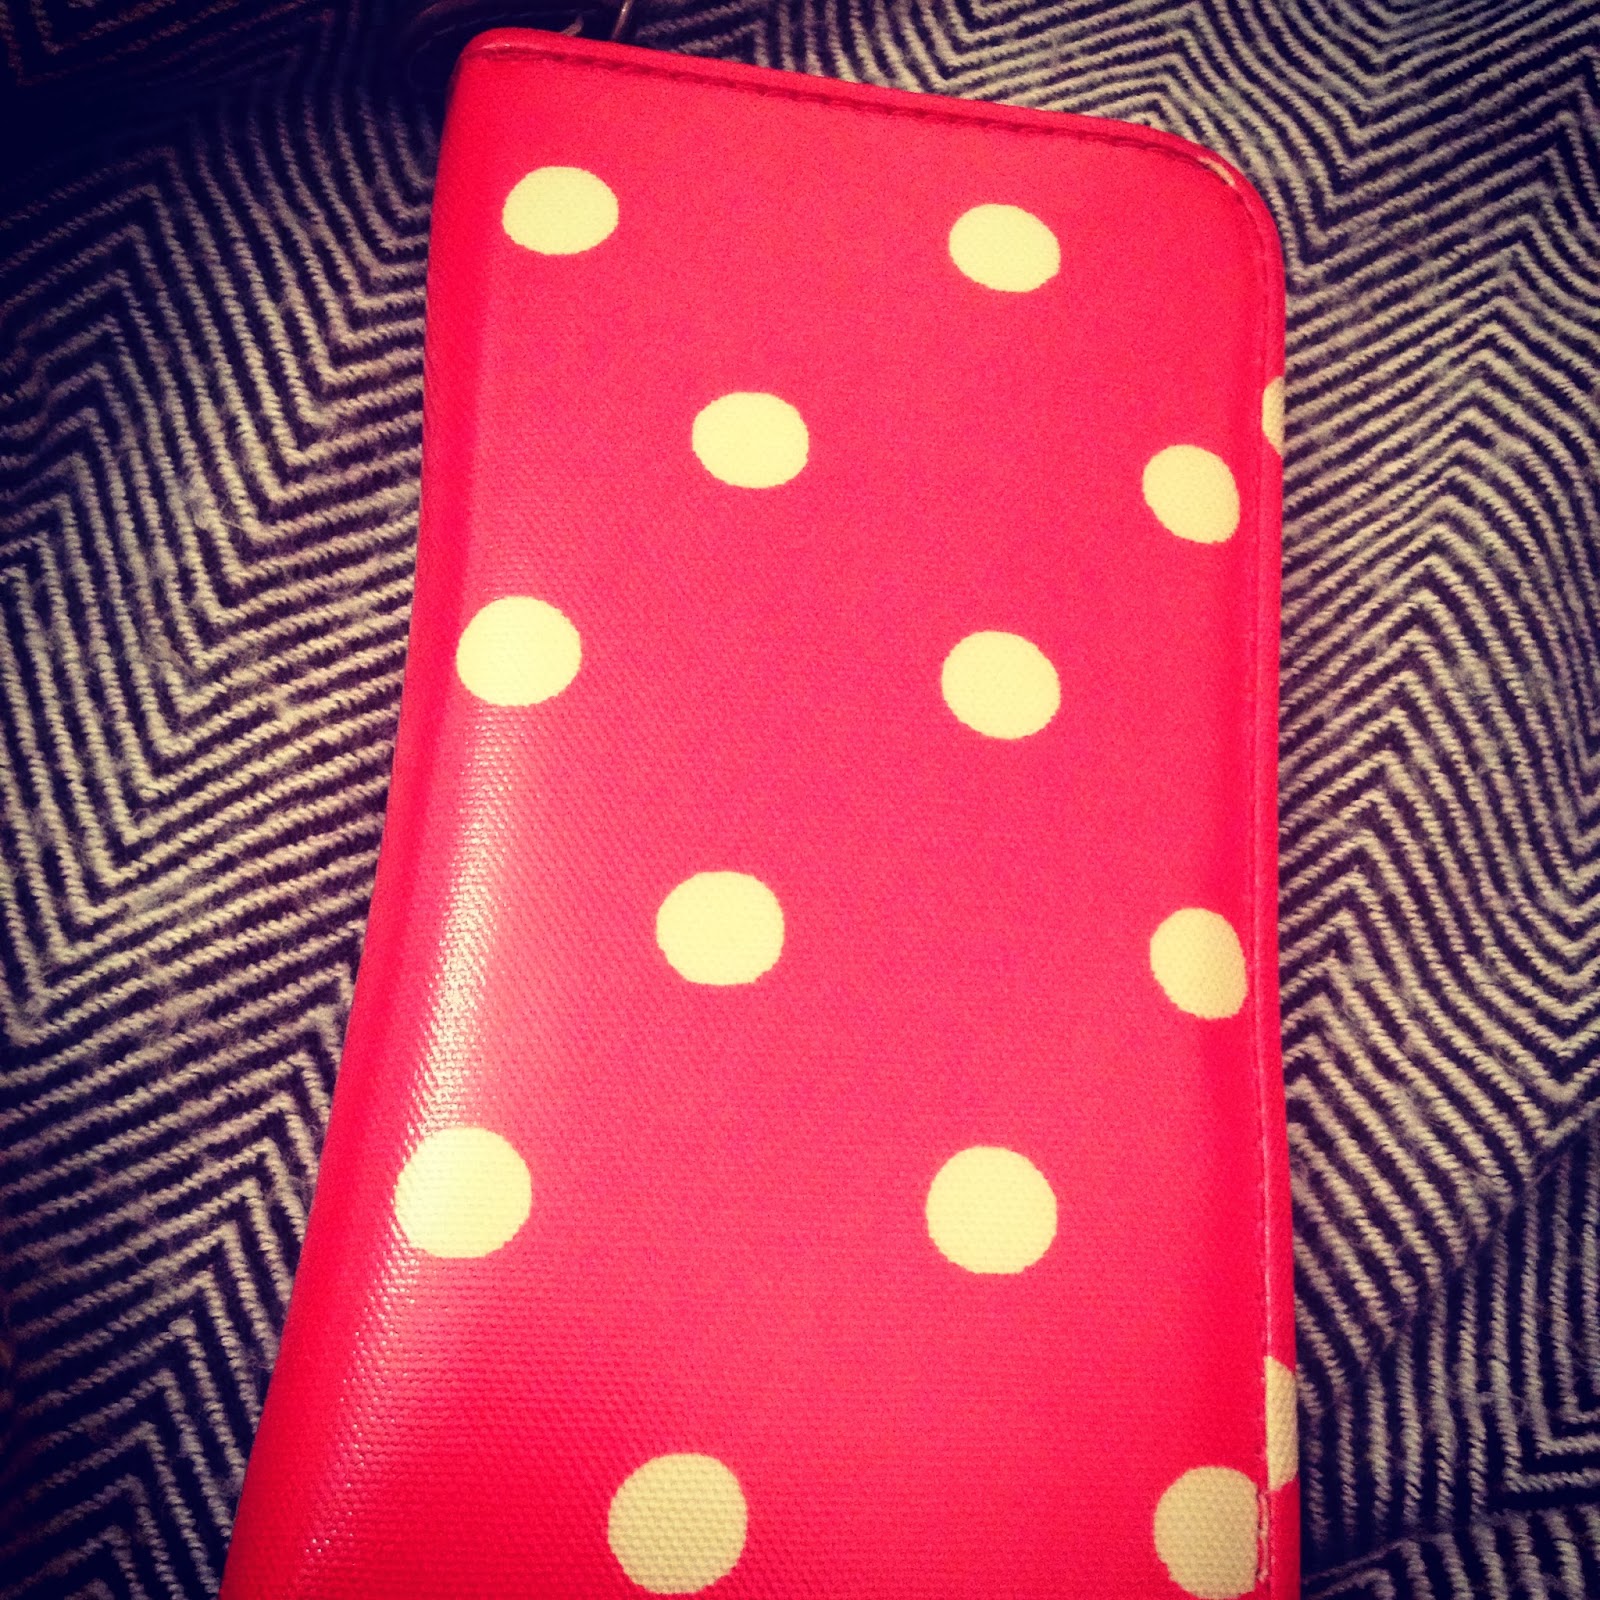
5. Pretty much anything Cath Kidston


My name is Katy and I'm a Cath-a-holic. I admit it, anything Cath Kidston and I want my name on it. But in my defence just look how pretty it all is! 
Almost everything in my handbag is Cath Kidston, spots, stripes and florals sit happily in the bottom of my bag (yes that's CK too). 
My favourite purchase recently is my red Moleskine notebook which I grabbed in the sales, I carry it everywhere and I'm attempting to fill it with all my blog post ideas and things to do and make. 

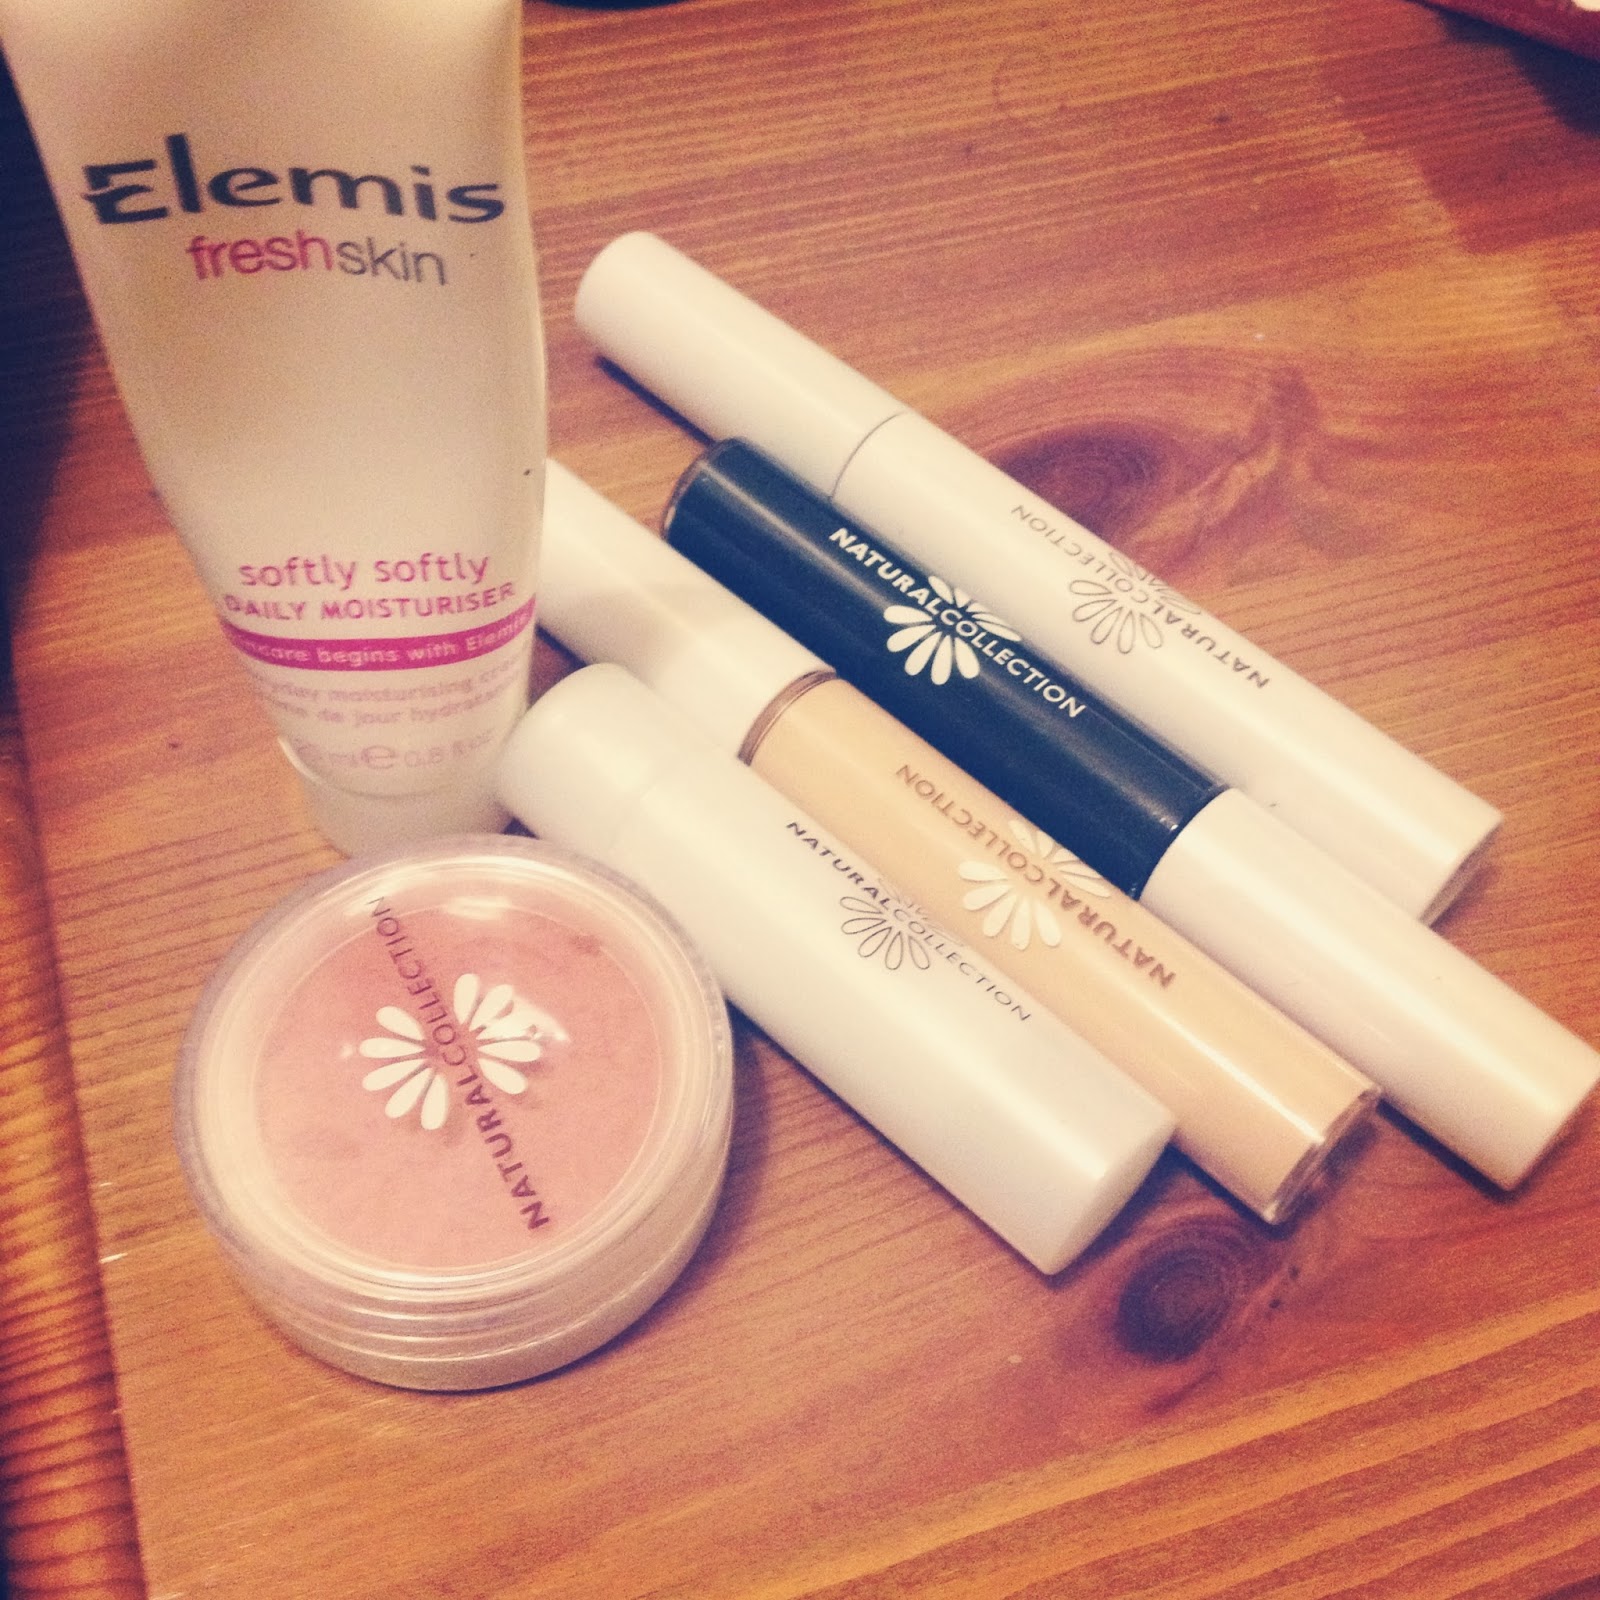
6. My Natural Collection Make-up & Elemis Moisturiser


I'm not fancy with my make-up and I've found that for my skin Boots' own brand Natural Collection is my favourite. Apart from the cheap price, I like that there isn't too much to choose from and yet they still have the things I need. I don't own very much make-up and I just have the simple stuff, mascara, concealer, liquid eyeliner, corrector stick and some blusher. 

The only other main thing I have and use in my make-up bag is Elemis soft skin daily moisturiser, I actually got this as a free sample but as soon as it runs out I'll definitely be getting a new one of. It's light and has a gentle scent, I have quite sensitive skin and it gets especially dry in the winter. Of all the moisturisers I've used this is my favourite by far. 

7. Neals Yard Relaxation roll-on


This roll on was a god send in my first year, I'm prone to stress headaches and lavender is such a good essential oil to help with them. 
Neals Yard are a natural organic health and beauty shop, you might have heard of their main shop in London in, you guessed it, Neals Yard near Covent Garden. 
The shop does a range of these roll on essential oils including the relaxation one above, night time, study and a few more too. 
I'll roll this on my wrists and other pulse points like my neck just before I got to bed and I sleep like a baby. 

8. Brother Sewing Machine 


I've been waiting years to buy a sewing machine and my gorgeous Gran gave me some money just before Christmas and told me that it was to buy a sewing machine. Her mum, and my great nanny, was a seamstress and my Gran, mum and I have always sewn. 
I was so excited to finally get this and have to it make plenty pretty things for my new home with G, it now sits proudly in the corner of my desk looking pretty and practical. 

9. Aloe Vera


Now is probably the time to reveal that I am unbelievably clumsy. I'm currently nursing a huge bruise and cut on my knee from when I slipped on the stairs at Uni. 
My go to remedy? Aloe Vera, I use this for everything from cuts and bruises to burns and scrapes. It heals every single one of them and isn't like antiseptic wipes which sting like hell, it's super refreshing and calming. Dr. Organic is the brand I use but really so long as you go for a good pure aloe vera it'll work perfectly. 

10. Dune Boots! 


These boots! I stared at and lusted after these Dune Chelsea boots for months until I'd finally worked up enough money and at last as I was trying them on in Dune for the hundredth time I went for it. 

I've never looked back, the second the sun went away and the rain and clouds came back I had these on my feet. I wear them every day and they've seen me through countless days getting caught in the rain and worn with several pairs of socks they were hardy against the height of our Geordie winter. 
I'm going to be wearing these boots until the day they fall apart and then I'll be running back to Dune for another pair!


There's probably 10 more things I could add to this list and I haven't included G and my family either but they're not things and of course they are the number one thing I don't need to say it for them to know. 

Watch out on Sunday/Monday for my tutorial on making a simple envelope cushion cover. 

Katy x