Sunday Adventures: Corbridge

I visited Corbridge last year with my mum as it's between my hometown, Carlisle and Newcastle where I live now. Mum had read about a little shop which sold vintage and repurposed things, I wasn't sure what to expect sometimes these shops can be not as good as the hype.
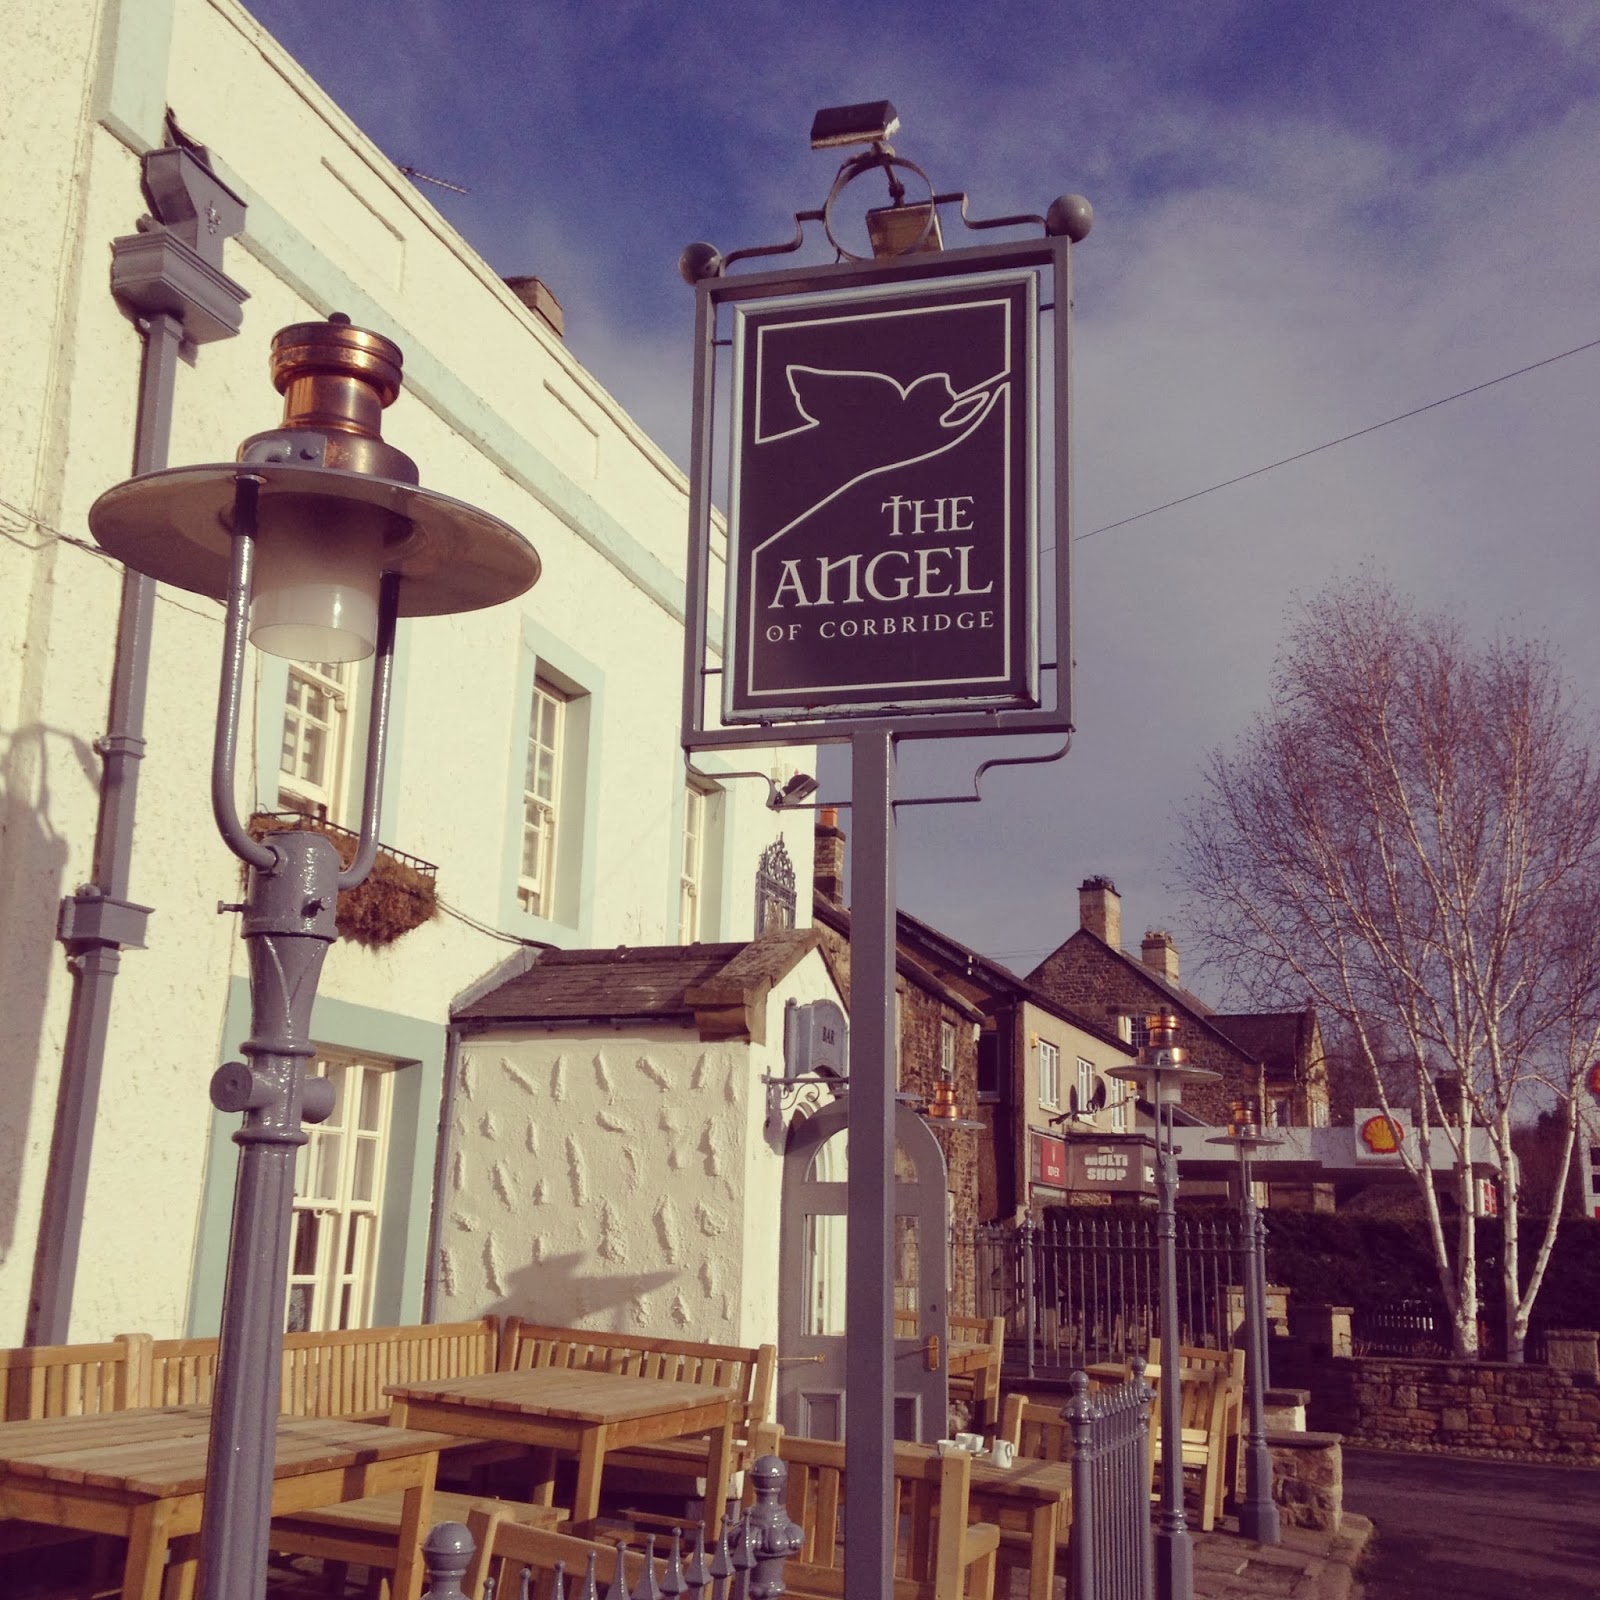
Well let me tell you RE in Corbridge tucked neatly away between The Angel pub and a garage was better than I would have ever guessed!

I've been waiting to go back for a while now to show G and have lunch at The Angel, so this Sunday we hopped on the train (well we ran) and took the short ride to Corbridge.


Corbridge is such a pretty little town, the train station is only a five minute walk to the town centre, which is good because the wind was crazy!
The town has several pubs a wonderful trait of small northern towns, tiny independent shops and numerous quaint cafes for tea, cake and more tea again.


We started the day with RE! I was excited to get back here and shop, it's full to brimming with so many things that I could have got but I restricted myself to just a few little things. 

The shop opened in 2003 and their mail order catalogue was created in 2004, the have everything stuffed into their space and I'll challenge you to not walk out with something you love.


G's excited! I'm more excited though, he got my Valentines present there! You'll see a peak of it later.


G found the biggest tea mug he's ever seen so I got him that to add to his V-day present, he knows so I'm not giving anything away don't worry. 


I spotted these striped strings and grabbed one in green and one in navy I think I'll be able to use these for everything, scrapbooking and cards, pretty much anything crafty. 


These are actually vintage printing press letter blocks,  I think, and I decided to use them as stamps. This is printed in my soon to be Valentines 2014 page of my scrapbook. I'll use them to make cards too!


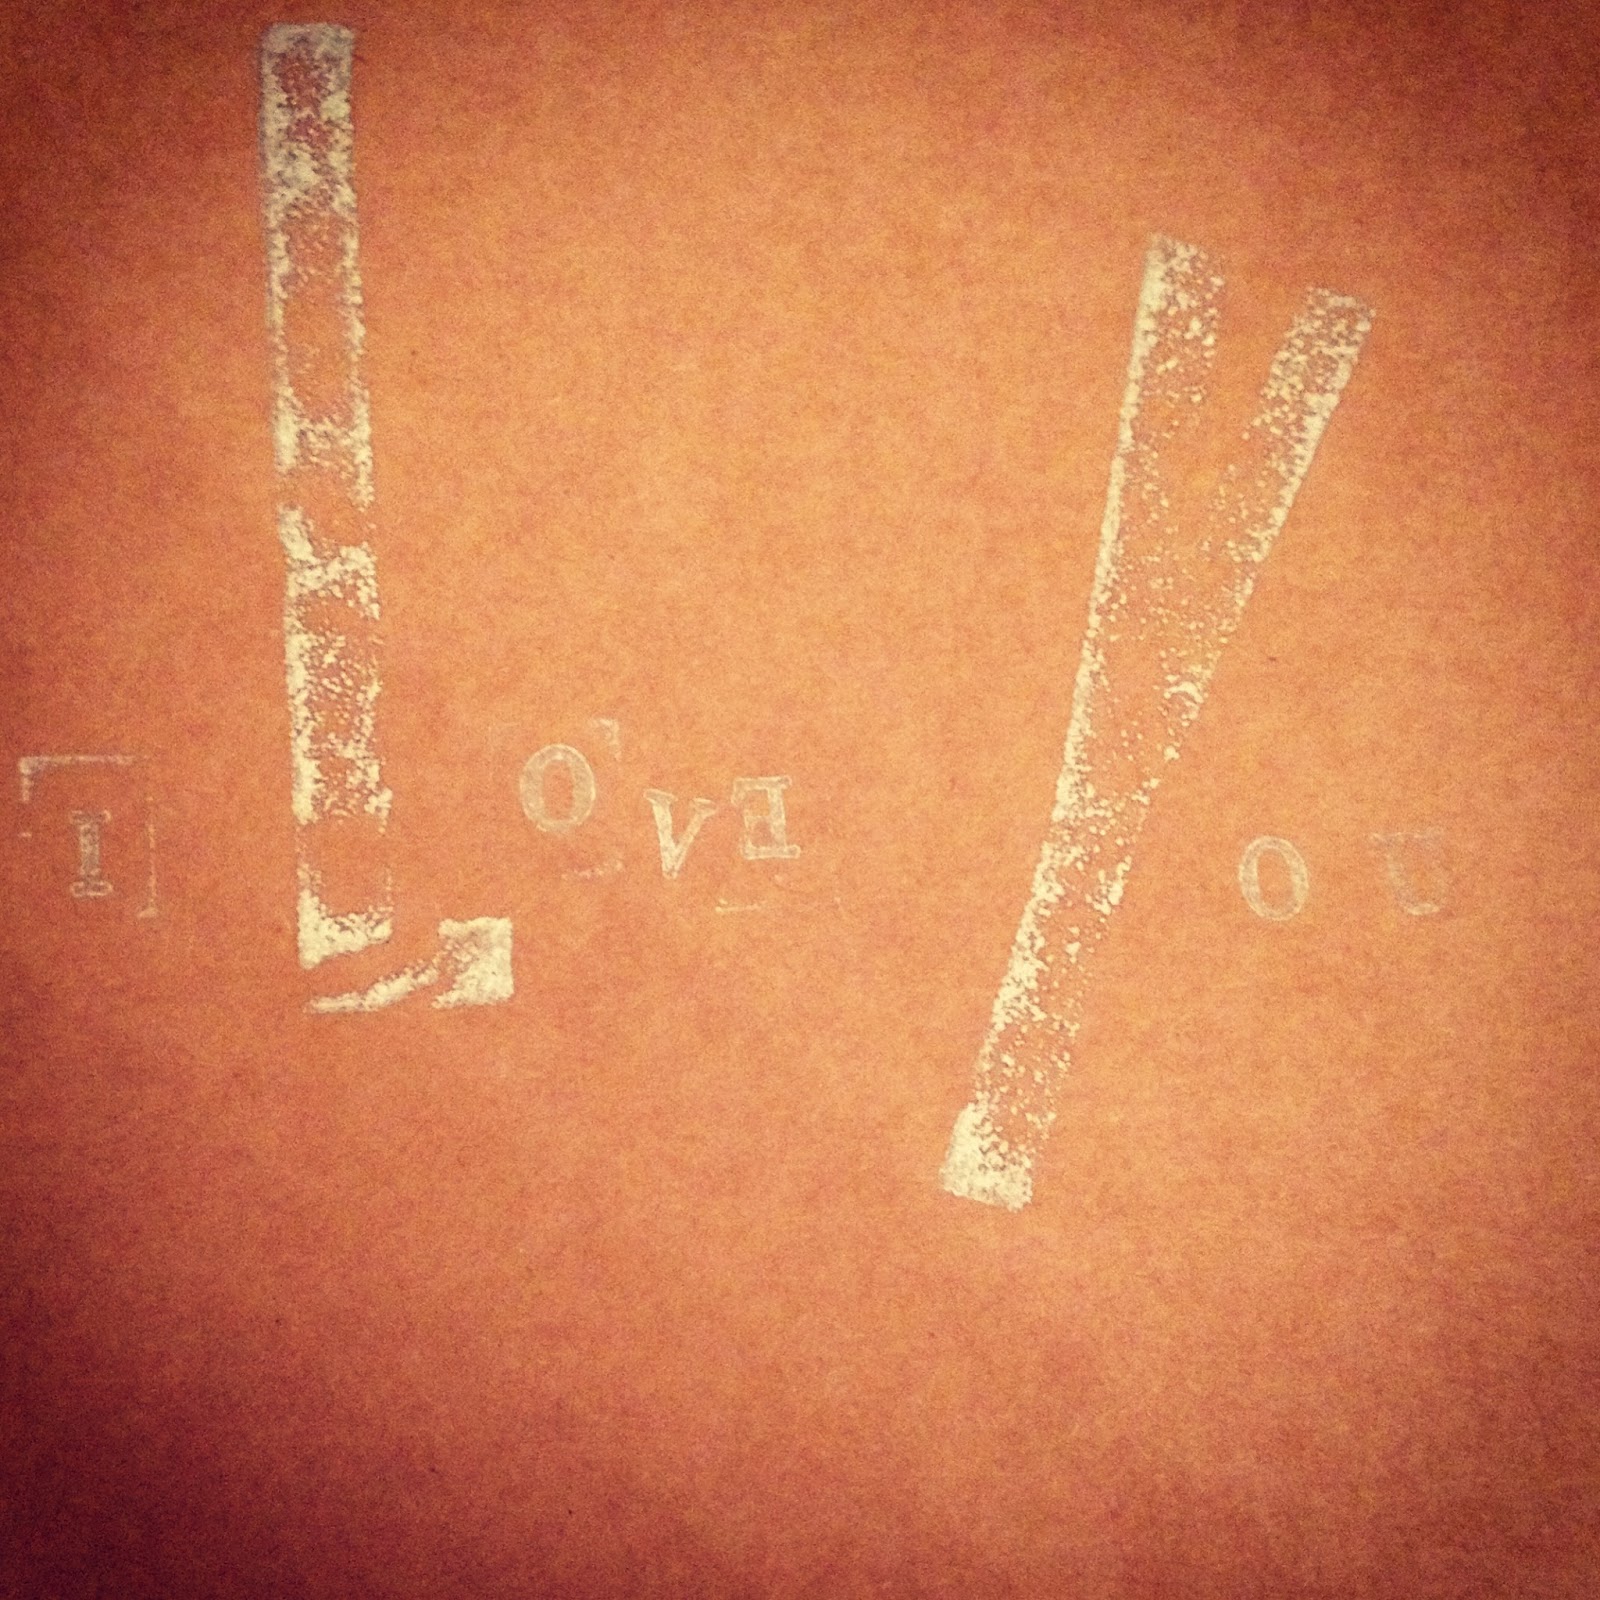
These rustic tin letters caught my eye, I saw something like these last year but for a much higher price, whereas these were just £2.50 a pop! They also had bigger sizes all the way up to really quite big ones I like once we have a house of our own.

Last purchase wasn't actually mine but G's present to me for Valentines. I am more than a little excited about this, I've been coveting this gorgeous milk glass cake stand since I first visited RE. I'm such a crazy lucky girl to have found such a perfect guy.
I'm looking forward to Friday when I can whip up a cake to stick on top.


Then we headed next door for Sunday lunch, we were both starving so we really couldn't wait.
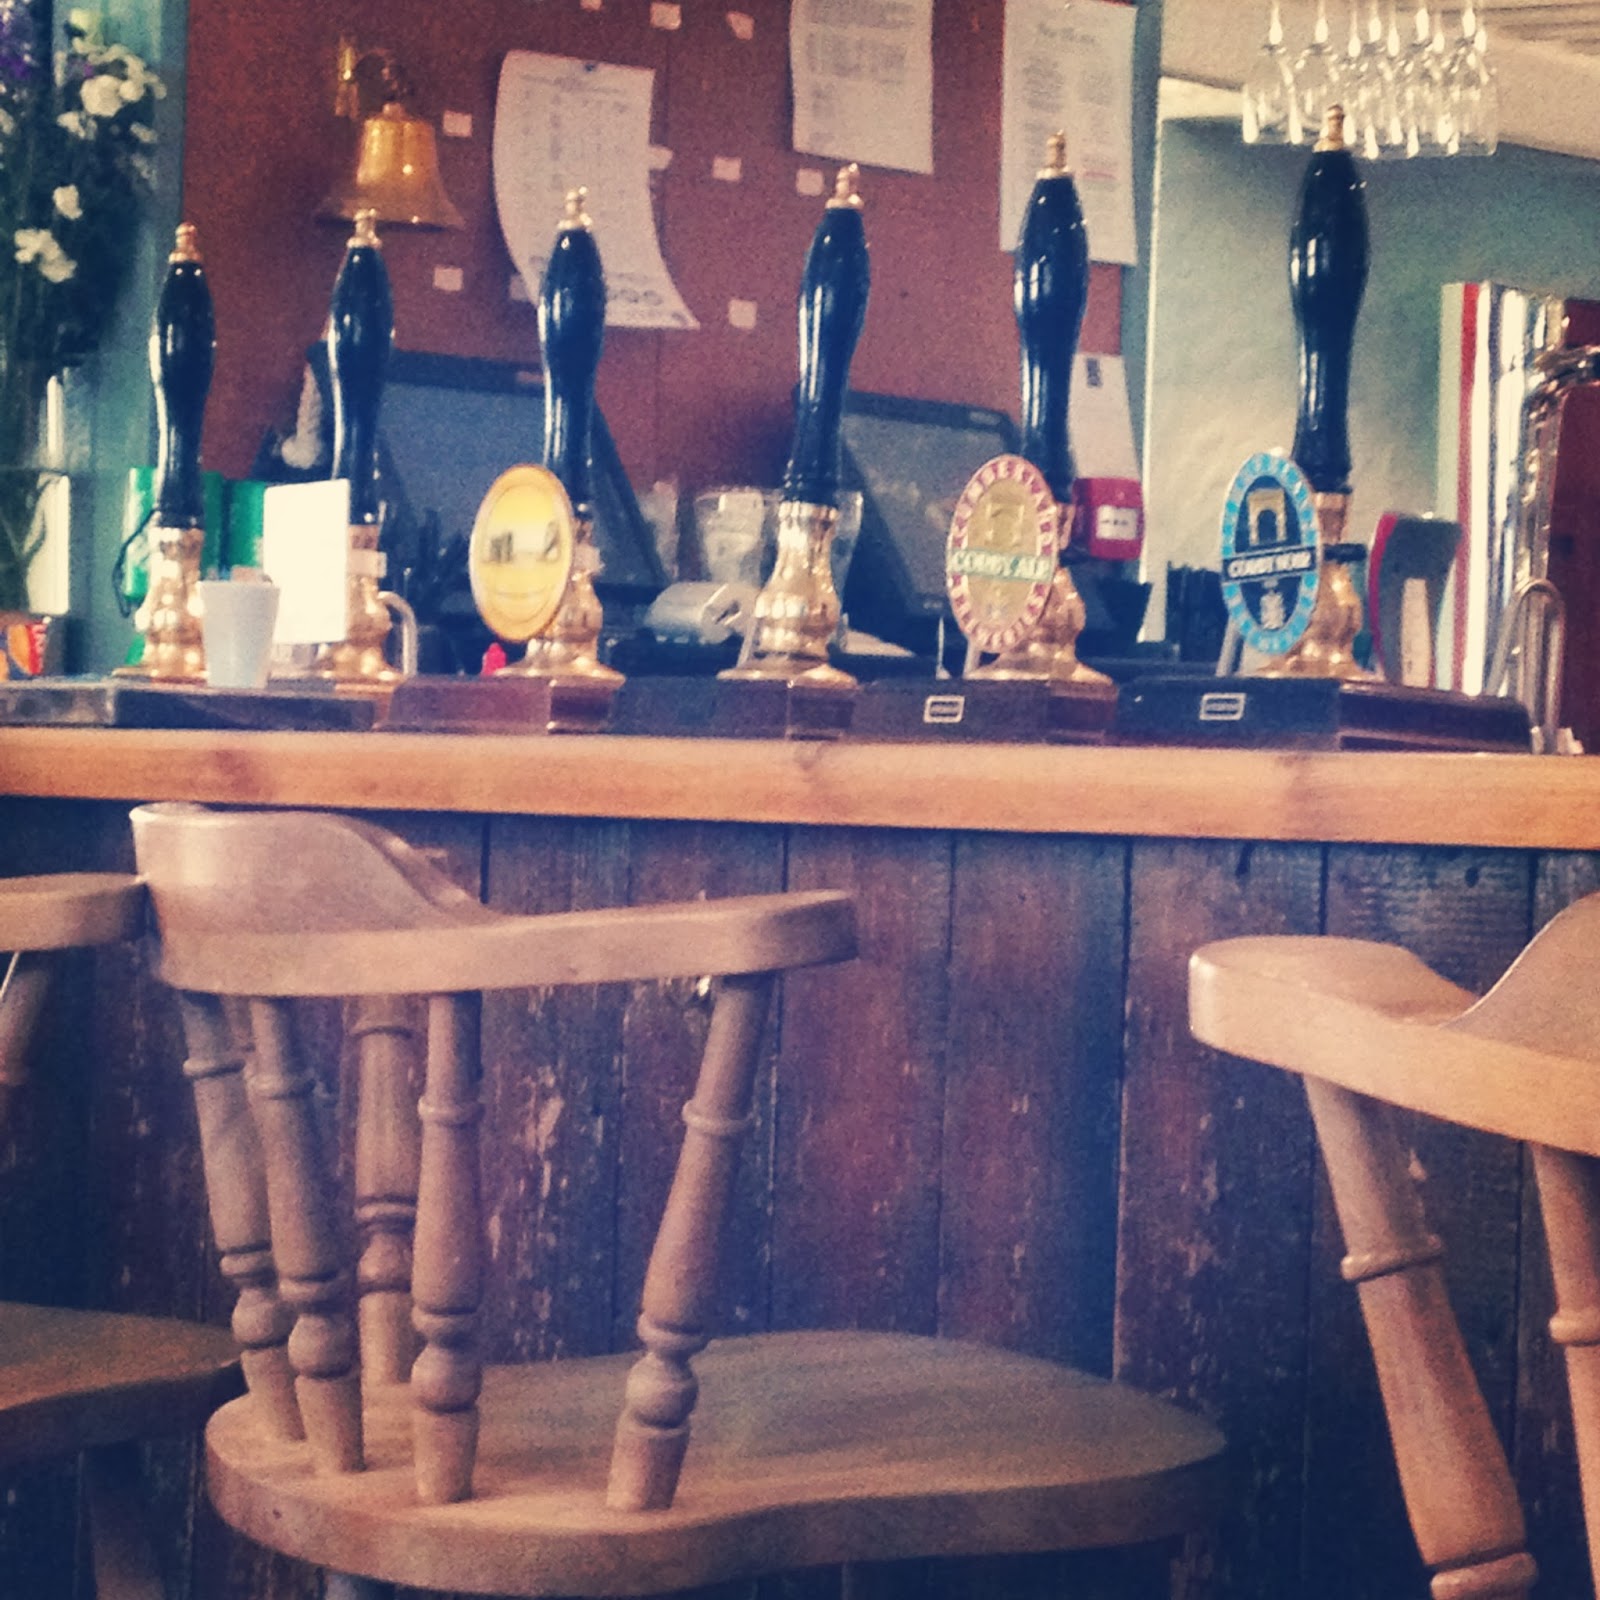
It's decorated in that quaint but not too quirky way with duck egg blue wood panelled walls and solid wood tables.
The Angel is such a lovely pub and the menu was to die for, every kind of roast dinner you could ever want for but being the traditionalists we are we chose chicken.


Lunch was Amazing, yes with a capital A. I could eat this roast every Sunday for the rest of my life and I think I might try to replicate it very soon!


Last but most definitely not least on our Sunday adventure was Grants bakery, we grabbed a chocolatey sponge and a huge strawberry meringue! I'm dying to eat the meringue and I've decided I need to make some soon!

Corbridge is definitely worth a trip, even just for a browse in RE if your passing through but if you have a spare day a roast dinner is extremely worth it and so is following it up with a cake or two!
If you've visited I would love to know what else you love in Corbridge for our next trip?

Katy

Ceramic and Glass Painting

If you've been following me on Instagram (@katyepearce) you'll have seen my recent updates about my ceramic and glass painting.

This is something I've been meaning to do for ages and seeing as how I can never find affordable plates and dishes in colours and patterns I like I thought I'd give it a try.

I just popped to my local Wilkinsons and grabbed a couple of their 65p side plates, cheap and if I stuffed it up at least I hadn't spent a lot of money on them.

Recently I had a little order on Hobbycraft and ceramic and glass paints were something I purchased. I have the Marabu paints in Petrol blue and Mint green (my current favourite colour!) and a glass paint in gold glitter.

I had a little look on Pinterest for inspiration and came up with a few pattern ideas. Including a chevron style print, stripes and of course polka dots!

I thought you all might like a little update/tutorial on how I chose to paint my plates and glasses and a few hints and tips I learned along the way.


This was my first attempt, it's a little rough around the edges but I think it gives the set a little of that homemade goodness. 
After I finished this I got a little crazy and just kept going. So I tried to come up with more patterns and got painting. 


As I went on the plates got neater and I loved painting them more and more. 
I've just started on my first dinner plate and here's how:


These were my chosen colours, I love mint green at the moment and want to paint everything I own this zingy spring colour. 


I just picked up a pack of paint brushes from Wilkinsons to paint with, the only tip here is to go for decent paint brushes, you don't have to spend a fortune obviously but those cheap plasticy brushes you can get don't paint as smooth as some of the slightly more expensive ones. I think these were £2 for a pack of about 6 and definitely worth it. 

I paint my plates free hand and have found that so long as you take your time and have an idea in mind, even sketched out on a scrap of paper before you start working, you'll be fine. I did try painting with masking tape to give me straight lines and found that I could bleed slightly, if you look at the bottom right hand plate at the top of this post you'll see little spot like lines off of the stripes, luckily this happened all the way around my plate so it looks like I did it on purpose (Shh!). 

Just go slow and don't load your brush up with too much paint as the paint dries fast and it has a tacky stage which if you paint on can disrupt the pattern underneath. 

Once you've finished painting the guide says that you should pop these in the oven to set the paint. 
So you pop the plates in and set the oven to 170' celsius once your oven hits this temperature set your timer for 30 minutes and once this is over turn the oven off and leave your plates to cool in the oven as it cools. I wouldn't recommend taking them out still hot, not only will you burn your hands but the plates might crack and then all your hard work will be ruined. 

Next up in the ceramic painting saga is to finish off my dinner plates and make a start on some cereal bowls. 


Glass painting: 


I saw a post on Pinterest recently with Wine glasses painted with gold spots (another favourite of mine) so when I saw some glass paint on Hobbycraft I thought I'd give it a go. 
Again I popped to Wilko's and grabbed a set of four tumbler glasses for about 60p and got painting. 


At first I found it quite hard to work with this as it was so watery and needed shaking up every 5 minutes to make sure the glitter hadn't sunk. 
Although it took a while to get to terms with the paint I did eventually crack it, at first I used the lid to put some of the paint in as the glitter doesn't have as far to sink. Then I popped some on a piece of paper and this helped as it got just a little bit tacky so it stuck rather than slid on the glasses. 


The best way to do this is to just go for it, if your spots go a little off it's fine once you've covered the glass the effect is super pretty and the imperfections aren't even visible. 

Don't dot too much paint on at the same time over wise it'll run down the glass before it can dry, I do two coats and the first is quite light and mainly just to mark out where I want everything and then go back to make the glitter more prominent. 


They take a while to dry the recommended time is 30-40 minutes but I think they take much longer than this. I found it best to leave them to dry over night and they were perfect in the morning. 

I have a set of 4 finally completed and I'm going to do a set of wine glasses. 


Next up I think I'll tackle painted cutlery, Pinterest has been inspiring me plenty these past few weeks. Follow my boards here for some inspiration and you'll probably be able to guess what I'm going to next from all my posts. 

Katy


Easy Peasy Envelope cushion cover!

I've been looking for a quick and easy way to make cushion cover for a while now and after testing and reading lots of different types I've finally found one that I like.

Step one: Measuring


First of all, take your chosen cushion form and measure it from side to side, the cushion I used is 17x17 inches.

This is bit you're going to want to remember:

For the front fabric of your cushion- you want to add 1 inch to all of the sides, so my cushion being 17x17 I'd make it 18x18 when I'm measuring my fabric.
For the back (and envelope piece of the cushion)- you want to take your original 18x18 and add 4 inches to one dimension, so then the measurements I'm using will be 18x22.

This will work for any size so it can be tailored to any kind of cushion.

Step two: Cutting


Take your chosen fabric and cut out the two pieces, for me this is one piece 18x18 and another 18x22. 


Next you take your back, and bigger, piece with the one longer side (18x22) and cut it in half. So for my cushion I measured halfway and the cut down the middle.

I will then have two pieces that measure 18x11. 


Take those two pieces and hem one of the 18 inch edges by double folding, fold about a half a centimetre of the fabric over and then fold that over once more. 
I pop my fabric on a cutting board and just use a pair of scissors to run gently along this hemmed part, this just holds it in place slightly making it easier for you to then pin in place. You only need to do this on one side of the 


Once you've pinned both of your 18x11 pieces on one side sew along these edges. This will give you a nice neat hemmed edge when you turn the cushion the right way out.

Step three: Putting your cushion together


Next take your front (the piece that's still whole) and lay it pretty side up. Then take your two hemmed pieces and lay them pretty side down on top of the first piece. Pin these together securely all the way round the square. The two top pieces will overlap, that's ok! This will make the envelope of your cushion so you can easily slot the cushion inside. 


Sew along the edges of your you fabric and make sure you sew all of your fabric into the seam. Don't worry if you miss a little just go back and sew over it again. 

Finally... 


Carefully cut close to the stitching on each of your cushions corners. I cut straight across then trim slightly so the edges are rounded. This will help the corners of your cushion cover to be pointed and sharp when you turn it inside out. 


You should have something that looks like this! Check that your corners are nice and sharp, then go ahead and pop your cushion form inside.


Tada! You're all done. The best thing I've found about this method is how easy it is to switch it up depending on the size of your cushion form. It could also be adjusted for a rectangle cushion just use the simple formula. 

Has anyone used this method before? Or do you have a different technique? Let me know! I'd love to here other ways to do this. 

Katy